Oh, the joy of a new Final Fantasy XIV Alliance Raid! It’s always filled with chaos, death, and mayhem–in other words, a good time. FFXIV’s 6.3 update saw Myths of the Realm’s second Alliance raid, Euphrosyne, go live. Like Aglaia, Euphrosyne features another handful of gods from Eorzea’s The Twelve. They are Nophica, Althyk with Nymeia, Halone, and Menphina.
In this guide, we’re covering how to unlock the raid and how to defeat the four (Five? Really six if you count Dalamud) major bosses for Euphrosyne. Adds won’t be covered since there are not many, and they don’t have tricky attacks.
How to unlock Euphrosyne
First, before setting off to find Deryk and initiating the quest chain for Euphrosyne–you must have achieved the following:
- Completion of Myths of the Realm’s Aglaia Alliance Raid
- Minimum iLVL of 595
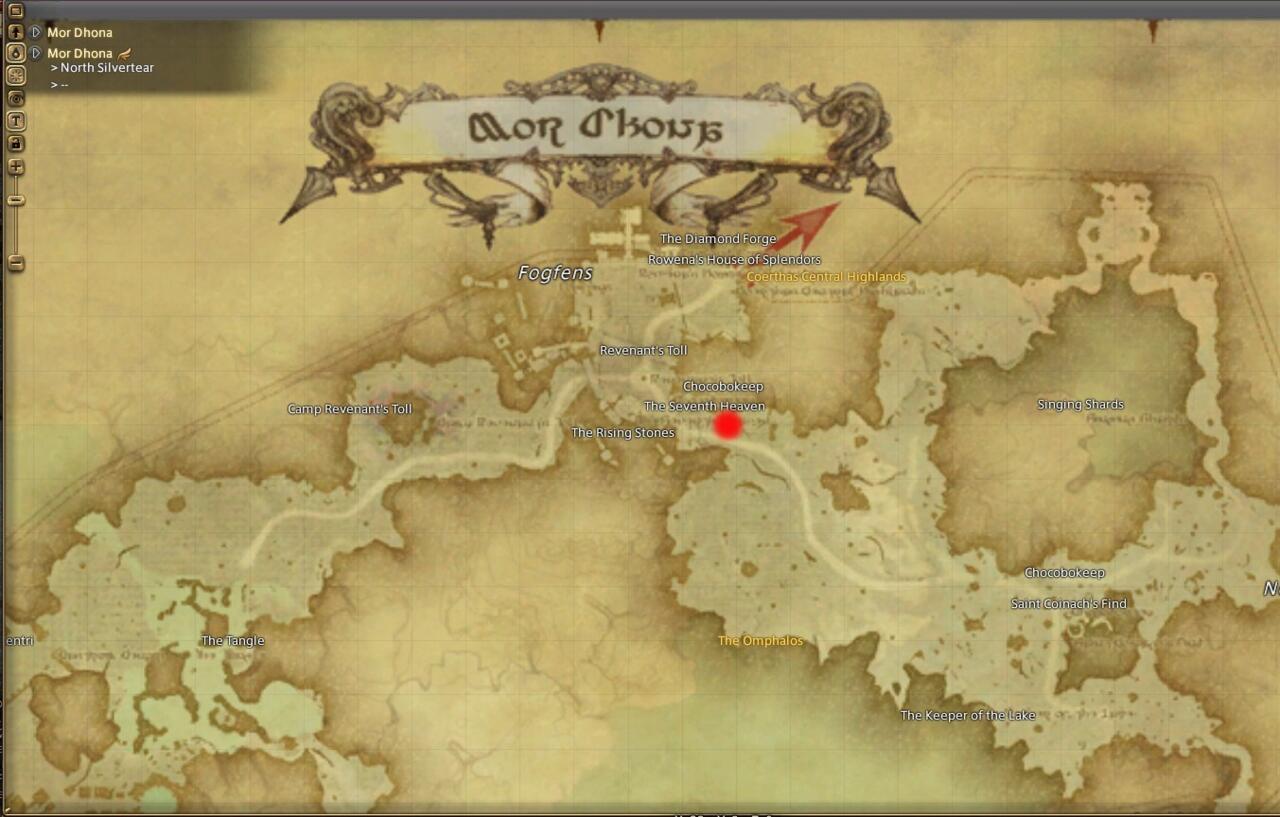
If you have done both of those things, go to Mor Dohna and find Deryk at the indicated red marker on the map. He’ll have a quest marker, Return to the Phantom Realm, over his head.
Euphrosyne Alliance Raid Guide
Now that you’re in, there are four major stages in the Raid: Nophica, Althyk with Nymeia, Halone, and Menphina. We’ve separated them into their own sections below.
Nophica
Patron goddess of Gridania, Nophica opens up the Euphrosyne Alliance Raid.
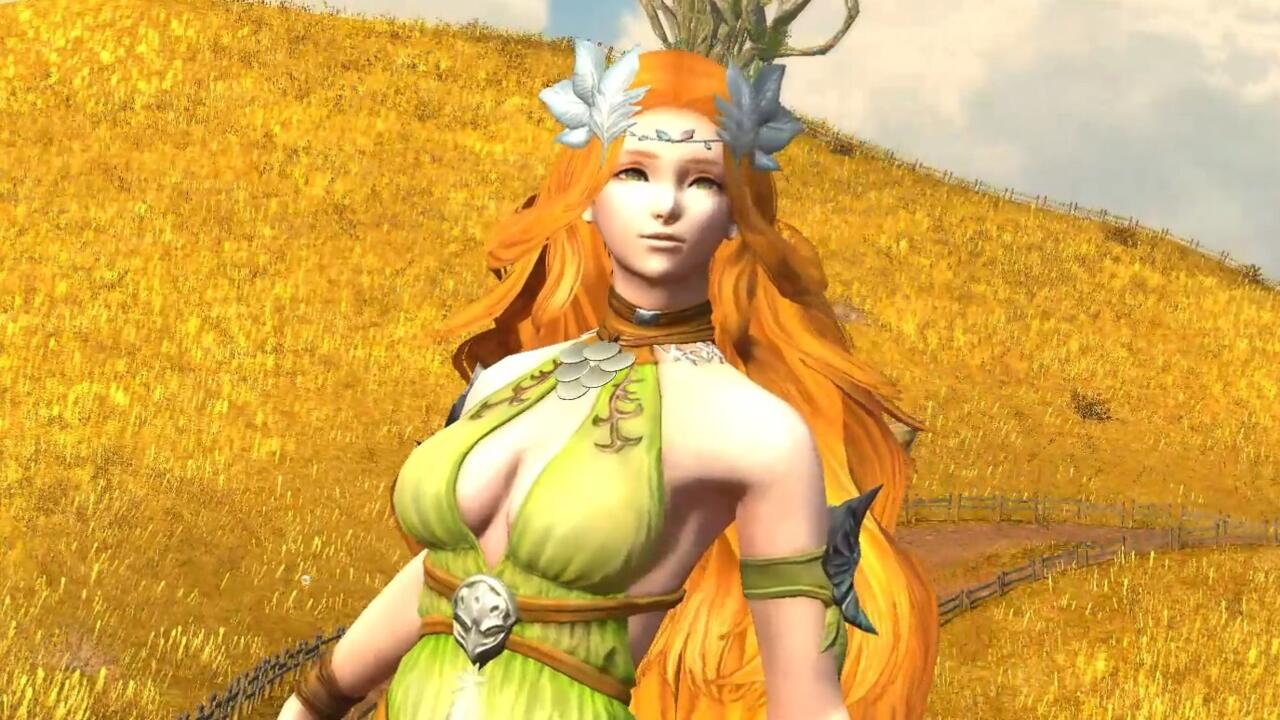
- Abundance: Nophica kicks things off by dealing a raid-wide AoE.
- Matron’s Plenty: This ability changes the ground to flowers or grass–announcing the start of the upcoming mechanic, The Giving Land.
- The Giving Land:
- If the ground is filled with flowers: Nophica casts a melee-range circular AoE. Move out to avoid.
- If the ground is grass: Nophica casts an AoE that covers the arena, except for a circular AoE in melee range. Move into melee range to avoid.
- Matron’s Harvest: Ends The Giving Land, does raid-wide damage. The arena also goes back to normal.
- Reaper’s Gale: Nophica telegraphs horizontal and vertical bands of orange AoEs, which will go off when the Reaper’s Gale cast bar completes. Only checkerboard-like areas of the arena are safe. She will do two casts in quick succession, with the safe areas changing the second time. So watch for the new damage markers, and immediately move to the new safe area after the first cast goes off.
Nophica will then go back to Matron’s Plenty, The Giving Land, and Matron’s Harvest cycle. The second half of this raid is basically mechanics you saw in the first half, but with other extra mechanics going off. We’ll go through chronological order here.
- Matron’s Breath: Circular rings of blue (circle marker) and/or yellow light (triangle marker) will start closing in on central markers. On the ground, corresponding yellow and blue circular areas will also show up. Players need to be on the corresponding yellow or blue circle when the ring of light hits the center marker. If the ring hits the blue marker, then players should be on the blue ring–and vice versa. If players don’t stand in the right circle, they take damage.
- Floral Haze: Every player gets assigned a directional marker. You can see what marker has been placed on you by checking your name in the party list. This directional marker has a countdown timer, and when the timer hits zero, you will be forced to march in the indicated direction. For example, if you’ve got a left marker with 16 under the icon, you’ll be forced to march left in 16 seconds. Most people’s timers will go off right after the combined Landwaker + Reaper’s Gale mechanic.
- Landwaker + Reaper’s Gale: In addition to Reaper’s Gale (the checkerboard safe areas), she’ll also cast circular AoEs spread randomly throughout the arena. That means you have to deal with both mechanics at the same time, and safe areas are further limited.
- Floral Haze + Matron’s Plenty cycle: Right after Landwaker + Reaper’s Gale goes off, most players will be forced to march in the direction as indicated in the party list. You’ll need to position yourself so you don’t get caught in the Matron’s Plenty cycle–able to move in or out, depending on if the floor is made of flowers or grass.
- Sowing Circle + Giving Land: During Sowing Circle, Nophica casts circular AoEs that start near her and move slowly outwards. There are four of these spaced evenly out. Right after, she’ll cast Giving Land–and these two mechanics will overlap. A handful of players’ forced march timers will go off during this mechanic, so make sure you know if you’re one of them.
Matron’s Harvest ends the flower/grass arena, and the arena goes back to normal. She will then cast Matron’s Breath–but a more complicated version. There will be more markers and circles moving, so be prepared to move quickly in between yellow (triangle) and blue (circle) ground markers. Stack Marker goes off on a random player after Matron’s Breath, so group up to share damage.
After that, she should be pretty near defeat and the mechanics following will be a repeat of those you’ve already seen.
Althyk and Nymeia
Althyk and Nymeia are a two-for-one deal in this next boss phase. Make sure to tank them apart.
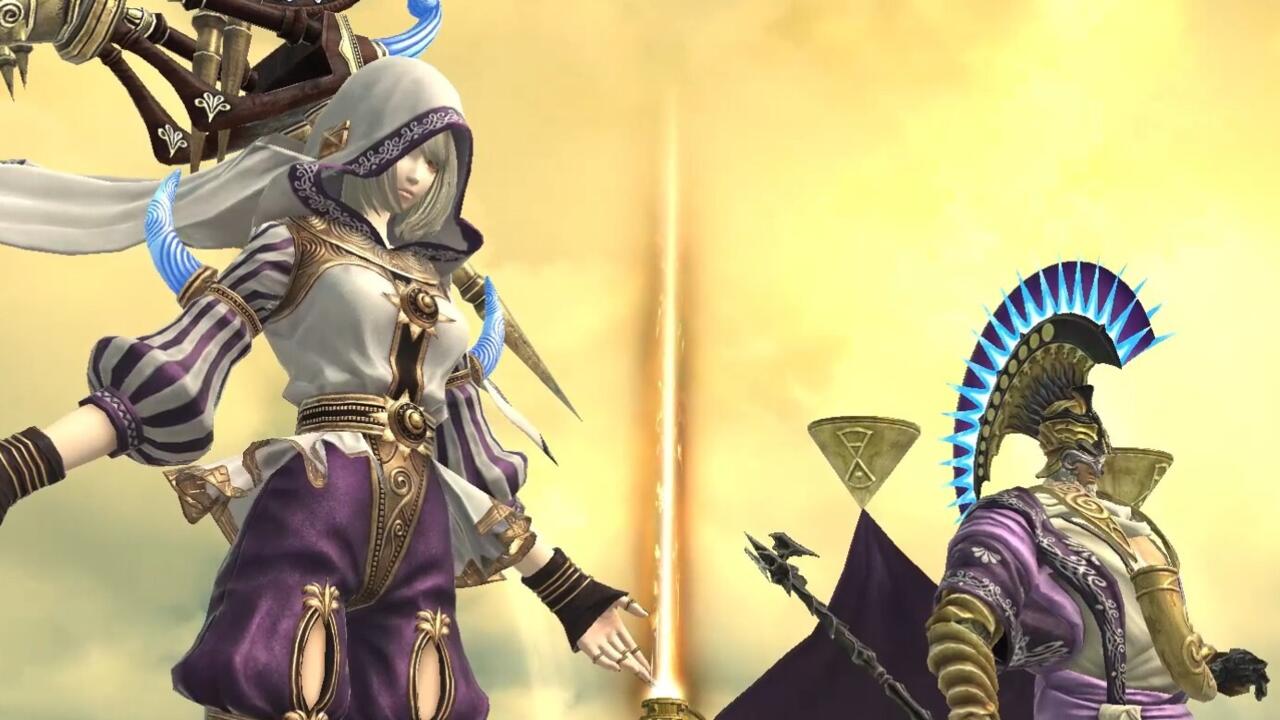
Nymeia
- Spinner’s Wheel: Nymeia will draw a tarot card periodically, and it will apply an effect to all players. The effects come in two different types of sets: Fire & Ice, or Lovers & Attraction Reversed. In each run, you will only see one of the sets.
- Fire & Ice:
- Fire (red)–Stop moving when the countdown ends. You’ll take fire damage elsewise.
- Ice (blue)–Keep moving when the countdown ends. You’ll be frozen and take ice damage elsewise.
- Lovers & Attraction Reversed:
- Lovers (pink)–Face away from Nymeia when the countdown ends. Else you will be seduced and temporarily unable to deal damage
- Attraction Reversed (green)–Face towards Nymeia when the countdown ends.
- Fire & Ice:
- Water wave attack: A blue length-wise bar with arrows will show up in the middle of the arena. This is a cascading water attack from Nymeia that will travel across the arena in both directions. Players need to wait for a wave to trigger, before moving to the position where the wave just took place. If you get caught in the wave, you will be continuously pushed by the wave until you’re off the platform, leading to certain death. It’s easiest to move near the center when the attack indicator first shows up, wait for the first wave to execute, and then move into the now-safe center.
Althyk
- Mythril Greataxe: Althyk casts a cone-shaped AoE in front of him in a random direction.
- Time and Tide: As the on-screen indicator says, this ability of Althyk speeds up time. It sometimes takes place in conjunction with Nymeia’s card cast–speeding up the card’s trigger time.
- Axioma: Althyk distorts space and time, opening up blue rifts on the platform. Standing in the rifts puts a temporary Magic Vulnerability Up and Heavy debuff on players, so avoid standing in the blue parts until an Inexorable Pull happens.
- Inexorable Pull: Players need to stand in the blue rifts in order to avoid getting blown up in the air by this attack, as indicated by the upward-facing arrows on screen.
- Water Pools: It appears this mechanic doesn’t have a name in-game, so it’s dubbed here as “water pools.” Three pools of water will appear on the arena in a triangular arrangement, right after Petrai, a tankbuster, happens. Each of the water pools has one to three diamonds floating above them. These diamonds indicate the numerical order in which circular pushes will be set off one after another. “Circular pushes” means that players will be pushed away from the pools when the effects go off. Players should position themselves at the pool with one diamond so that they will be pushed towards two, and when they’re at two, oriented in a way so they’re pushed towards three. If you get even one of these wrong or your positioning is off, you’ll be yeeted off the platform to your death.
From here on out, it’s a repeat of the mechanics we’ve seen before–but with a twist on some of them.
- Water Pools + Althyk’s Time and Tide: The second time the water pools appear, it will be at the same time as Time and Tide. Althyk will attach a tether to one pool of water, and this specific one will trigger first, regardless of what diamond number it has. So for example, if Althyk tethers to three, it will set off first. Players will need to position themselves at three, so that they will be pushed towards one, and then pushed towards two. Untethered pools will set off in the usual numeric order (one before two, two before three, etc…)
At this point, Nymeia and Althyk should be pretty close to death. No new mechanics will appear, and the two will cycle through previous attacks.
Halone
Halone, patron of Ishgard, takes things up a notch. You’ll especially want to pay attention during Tetrapagos.
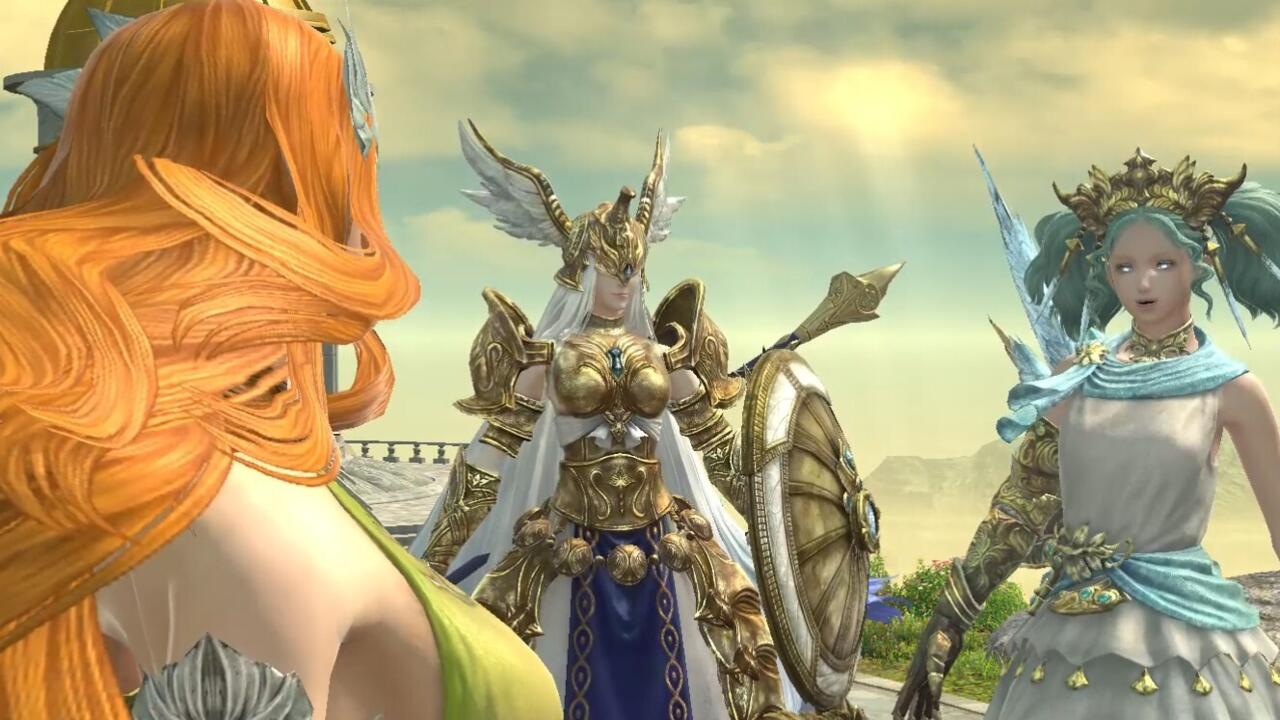
- Rain of Spears: At the beginning of the fight, Halone executes three attacks of raid-wide AoEs, so healers be prepared.
- Tetrapagos: When Halone jumps to the center of the arena, the cast bar for Tetrapagos will begin. During the cast bar’s progress, Halone will give you a preview of her AoE attack sequence–usually consisting of four attacks. For example, one of her Tetrapagos sequences is: melee-range AoE, east half of the platform, west half of the platform, and then finally platform-wide AoE that excludes melee-range. You need to memorize this preview sequence, and move to safe spots as when Tetrapagos triggers, Halone will perform these attacks one-by-one and very quickly. As a DPS, you could probably survive getting hit by one, but getting hit more means death. After the first Tetrapagos, she will cast another–so be prepared to memorize a different sequence the second time.
- Doom Spear: Right after the second Tetrapagos, three glowing areas with pillars and stack markers appear in corners of the room. Each Alliance must gather at their respective pillars. Alliance A usually goes to the west marker, B in center, and then C on the west side. Alliance members should stack together to absorb damage.
- Thousandfold Thrust: The beginning of this attack is indicated by red orbs revolving around Halone. They will slowly gather to one side of Halone, which indicates what half of the platform she’ll launch an intense AoE on. Go to the other half in order to escape her attacks.
- Lochos: Two areas outside the arena with glowing gold orbs will start sparkling. When Lochos’ cast bar is up, the orbs will turn into spears and zoom straight across the platform in AoE attacks–leaving only one quarter of the platform safe. Just try to stay in the center near Halone so you can easily move to the safe quarter.
- Will of The Fury: A red ring around the perimeter of the arena will start flashing. Players should move away from Halone and head towards the edge of the arena, because Halone will also place a proximity marker in the middle of the platform. At the edge of the platform, wait for the traveling wave of ice to trigger once, before moving into the safe area (similar to Nymeia’s traveling water wave). If a DPS gets hit by the ice, they’ll likely be frozen and combined with the damage from the proximity marker–die. So it’s important here to not get frozen.
- Glacial Spears / The Fury’s Frost meter: Right After Will of The Fury, three Glacial Spears will drop down in the corner of the room. An enrage meter, The Fury’s Frost, will also begin filling up. There’s a central Glacial Spear, but the three corner spears are important to tackle first. What Alliances need to do first is, as a group, go to one of the three corner Glacial Spears. Each Alliance should take one spear. Usually, A goes to the west marker, B in center, and then C on the west side. Players can also leave waymarks if the Alliances seem confused. After a few minutes, barriers will go up around the corner spears, trapping players so they can only attack the Glacial Spear they’re in proxmity to–which means if you end up at the wrong spear, you can’t move to the right one. All three Glacial Spears and the central one need to be defeated in time before Halone’s enrage meter The Fury’s Frost reaches 100. If the meter fills up, that’s a wipe.
The rest of the fight is just a repeat of previous mechanics with some overlap. For example, Lochos and Thousandfold Thrust will now trigger at the same time, leaving only a sliver of the platform safe.
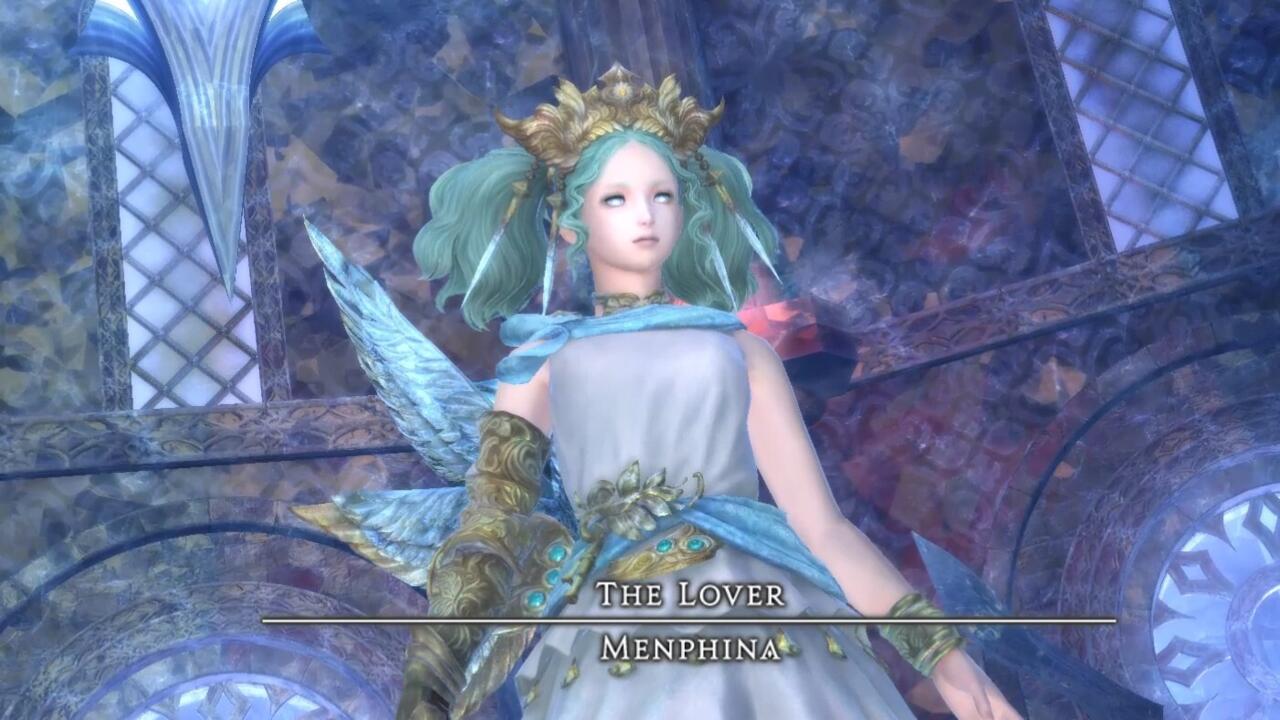
Menphina (and her hound, Dalamud)
Menphina, the goddess of love, is the last boss. Her fight is split into two parts. In the first part, she goes at it alone. In the second part, her loyal pet Dalamud joins the fray and helps Menphina beat players up.
- Blue Moon: Like Halone, Menphina’s first attack is a raid-wide AoE.
- Love’s Light: When Menphina casts Love’s Light, a big moon starts forming outside of the platform.
- Full Bright: The big moon then begins to wax gradually (indicated by the glowing part of it expanding). Once the moon fully waxes (so fully glowing), it will telegraph an AoE bar through the middle of the room. Players need to move to the left or right side of the moon’s telegraph to avoid getting caught in the AoE.
- Midnight Frost: Menphina indicates the beginning of this cast with blue-and-white frost forming on one side of her. What side the frost is on indicates which half a room a big AoE will form. The frost indicator is subtle and stays close to Menphina, so you’ll need to watch for this.
- Lunar Kiss: Tankbusters on all three tanks. Tanks should aim these away from the rest of the Alliance.
- Silver Mirror: Random circular AoEs will start forming one after another throughout the arena. Keep moving to avoid getting caught in these.
- Moonset: Menphina casts three huge circular AoEs. She’ll leap to one after another, so make sure you’re not hit in her landings.
- Winter Halo: At the beginning of this cast, a glowing orange area around Menphina will form. Players need to move into this safe zone (essentially melee range), as when Winter Halo executes, it’ll be arena-wide AoE minus the safe melee zone.
- Love’s Light: Four moons with attached AoEs form in the arena. Note that the moons are in various stages of waxing, and this indicates when the AoEs will go off. Players will need to position themselves in the AoEs of moons which are mostly dark instead of light (this means they’ll have a delayed explosion). The moons in later stages of waxing will have their AoEs trigger first. After this, players can then move into the now-safe zones.
- Selanain Mysteria: Four pillars will drop down into the room. Players need to take them all down. Little snowflakes will also appear on the platform, and these will have cone-shaped AoEs. Players will need to watch out for these, as well as other attacks. Once the pillars are destroyed, Menphina will cast a raid-wide attack. Healers will need to be prepared.
After Selanain Mysteria, the second phase of Menphina’s fight begins. Players will see Menphina’s attacks from the first phase with the addition of attacks from her loyal hound.
- Midnight Frost + Dalamud’s AoE: In addition to Menphina’s Midnight Frost (AoE attack which will span half of the room), players need to watch out for which side the dog’s white scythe-arm is lifted. The half of the platform that the scythe is lifted will have an AoE go off. Menphina and the hound will attack simultaneously, so you’ll need to position yourself safely before both casts go off.
The whole second phase is essentially like the above example. For example, you’ll also see Winter Halo and Dalamud’s AoEs, and other combinations of attacks we’ve already seen. The only advice is to dodge like your life depends on it. Dalamud is quite obvious in his attacks, so you’ll need to watch for his telegraphs, while also remembering Menphina’s attacks from the first phase.
With defeating Menphina, players will have cleared Euphrosyne. Congrats and may the loot rolls be ever in your favor!
The products discussed here were independently chosen by our editors.
GameSpot may get a share of the revenue if you buy anything featured on our site.
Stay connected with us on social media platform for instant update click here to join our Twitter, & Facebook
We are now on Telegram. Click here to join our channel (@TechiUpdate) and stay updated with the latest Technology headlines.
For all the latest gaming News Click Here
For the latest news and updates, follow us on Google News.
