K1 Communion might not be the most difficult Lost Sector on the Moon in Destiny 2, but going in blind to complete a Legend run could really wear you down and turn this into a time-consuming activity.
This is one of the Lost Sectors where you get a lot of cover to hide behind and regenerate your health, even in boss battles. But if you are under-leveled and don’t have the right build, it could take you over an hour to complete the Lost Sector, even if you avoid a wipe.
K1 Communion Legend Enemies
The Fallen have occupied K1 Communion, and now you are about to kick them back to their own world. In this Lost Sector, you won’t face Unstoppable Champions, but Overload and Barrier Champions will be challenging you deeply.
- Barrier Servitors (3x)
- Overload Captains (2x)
- Nightmare Dreg
- Nightmare Wretch
- Dreg
- Wretch
- Vandal
- Marauder
- Servitor
- Shank
- Tracer Shank
- Exploder Shank
- Heavy Shank
- Nightmare of Rizaahn, The Lost (Boss)
Vandals and Barrier Servitors will annoy you a lot in this Lost Sector, but with the loadout suggestions below, you can get rid of them pretty easily.
Best Builds And Loadouts
For Hunters and Warlocks, we suggest the Void subclass in this Lost Sector, but Titan-mains should use Solar abilities to overcome the battles of K1 Communion.
Hunter (Void)
- Abilities
- Gambler’s Dodge
- Triple Jump
- Vortex Grenade
- Snare Bomb
- Aspects
- Vanishing Step
- Trapper’s Ambush
- Fragments
- Echo of Obscurity
- Echo of Expulsion
- Echo of Exchange
- Echo of Leeching
- Super
- Shadowshot: Moebius Quiver
Titan (Solar)
- Abilities
- Rally Barricade
- Strafe Lift
- Throwing Hammer
- Solar Grenade
- Aspects
- Sol Invictus
- Roaring Flames
- Fragments
- Ember of Resolve
- Ember of Wonder
- Ember of Solace
- Ember of Singeing
- Super
Warlock (Void)
- Abilities
- Healing Rift
- Burst Glide
- Pocket Singularity
- Vortex Grenade
- Aspects
- Child of the Old Gods
- Feed The Void
- Fragments
- Echo of Obscurity
- Echo of Reprisal
- Echo of Persistence
- Echo of Leeching
- Super
Loadout
As most enemies are going to use Solar and Void shields, we suggest you include at least one weapon featuring Void or Solar damage. For the final Boss, we suggest you either use a Machine Gun or a Linear Fusion Rifle, as there will be a lot of cover in the area that could block Rocket Launcher and Grenade Launcher Projectiles.
Furthermore, we strongly suggest you pick Scout Rifle over Trace Rifle for Overload Captains, as you are going to face more enemies at long distances from your location in the boss fight, and killing them will be much easier with a Scout Rifle rather than anything else.
- Kinetic Slot (Scout Rifle):
- Best: Transfiguration
- Alternatives:
- Wicked Implement (Exotic)
- Pleiades Corrector
- Energy Slot (Auto Rifle):
- Best: Reckless Oracle Auto Rifle
- Alternatives:
- Centrifuse (Exotic)
- Positive Outlook
- Power Slot:
- Best: Deterministic Chaos Machine Gun (Exotic)
- Alternatives:
- Unwavering Duty Machine Gun
- Storm Chaser Linear Fusion Rifle
If you are going to use the Hunter build, make sure to wear Orpheus Rig Leg Armor as it will add one more shot to your Super, which is Moebius Quiver.
How To Complete The Lost Sector
The biggest concern for players in K1 Communion is the final boss. Unlike other Lost Sectors where you can easily get rid of the boss and then focus on clearing the remaining enemies, you are forced to kill certain enemies in K1 Communion’s final encounter to be able to kill the boss.
The path to the boss encounter is pretty easy to follow. Most rooms and corridors have enough cover that you don’t really need much guidance. You will be facing two Barrier Servitors and one Overload Captain before reaching the final encounter. Before you trigger the boss fight, you will also need to kill one more Overload Captain in the boss arena as well as a Heavy Shank, and then the room will turn red, which is an alert for the arrival of the boss.
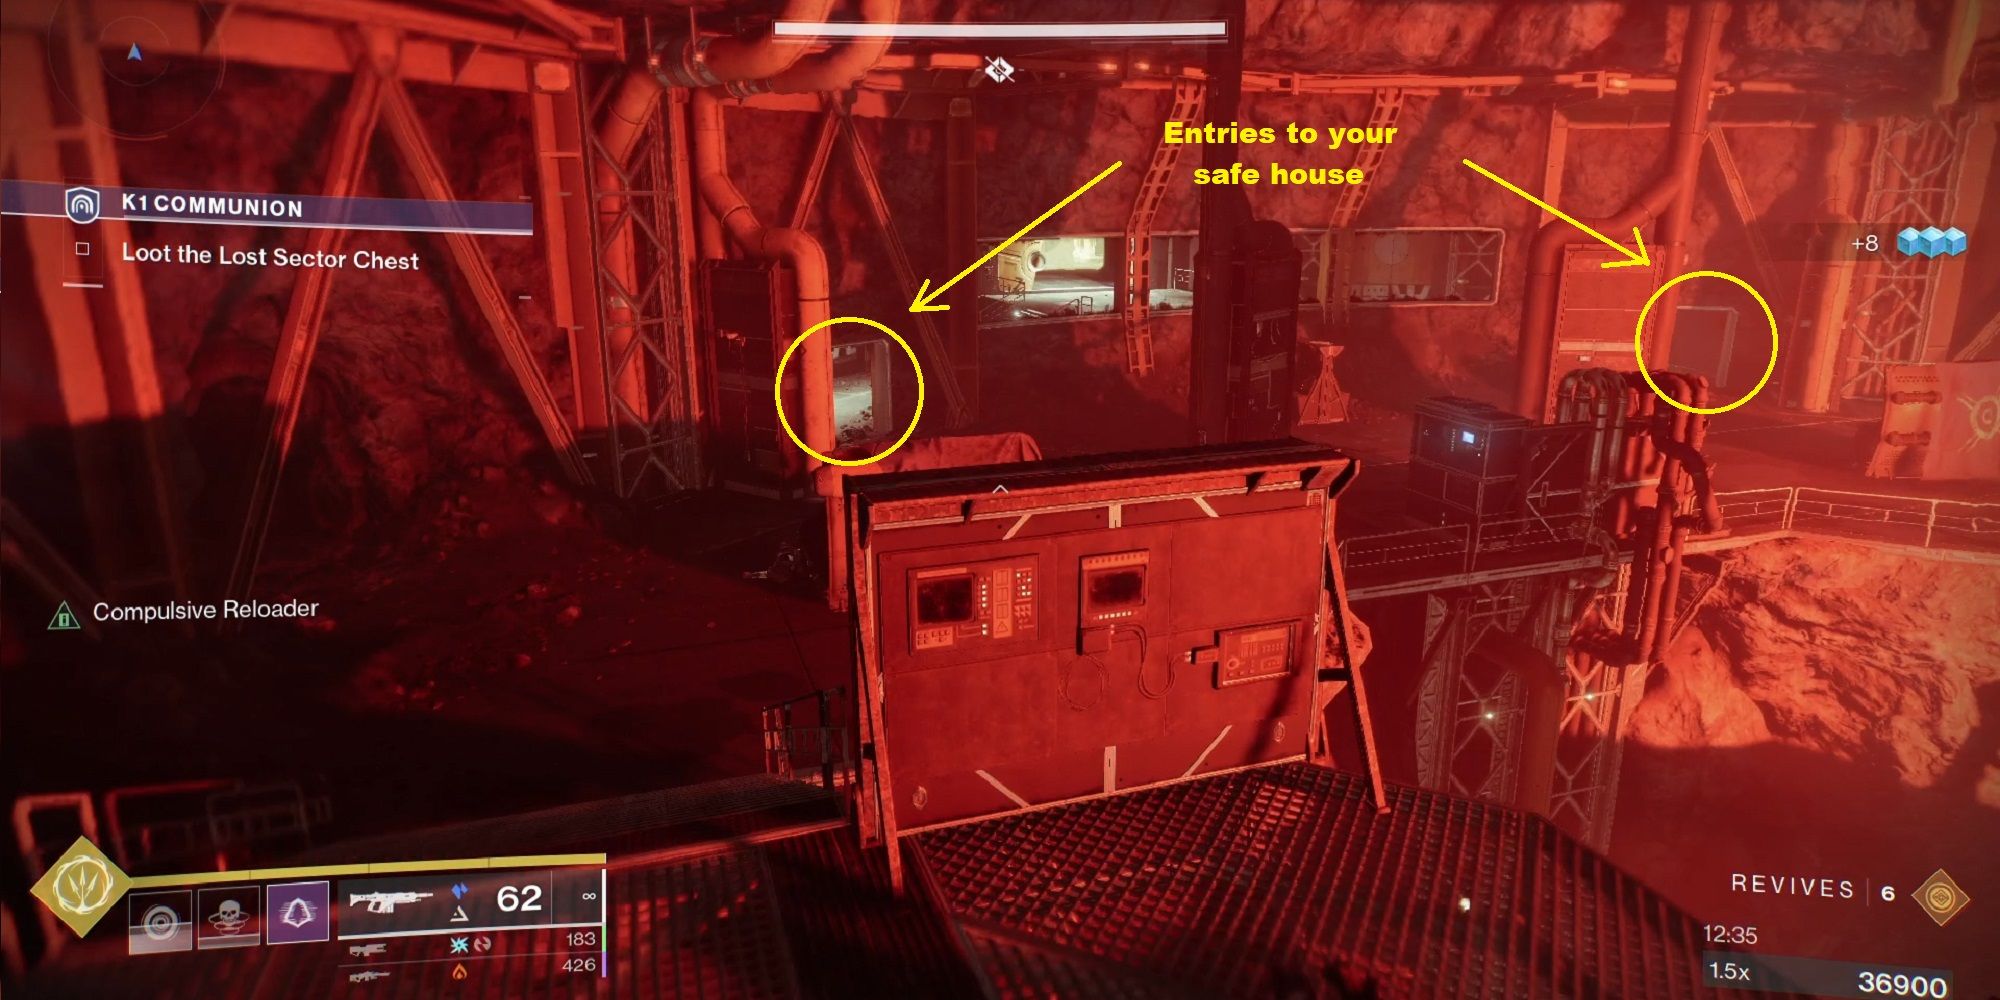
As soon as the room turns red, you need to head back to the small corridor, where you entered the boss arena from. This will be your safe house in the entire encounter as no enemy will enter inside this corridor. There is a large glass window in the corridor as well, allowing you to be aware of the enemy locations even when you are not engaging.
As you will notice, the boss’s health bar is divided into three sections, and as you drain each section, a new batch of enemies spawns in the arena. While the first two groups of enemies include Dreg, Nightmare Dreg, Vandal, Marauder, and Wretch, the final chunk of the health will spawn much stronger enemies, including the last Barrier Servitor and a Nightmare Wretch.
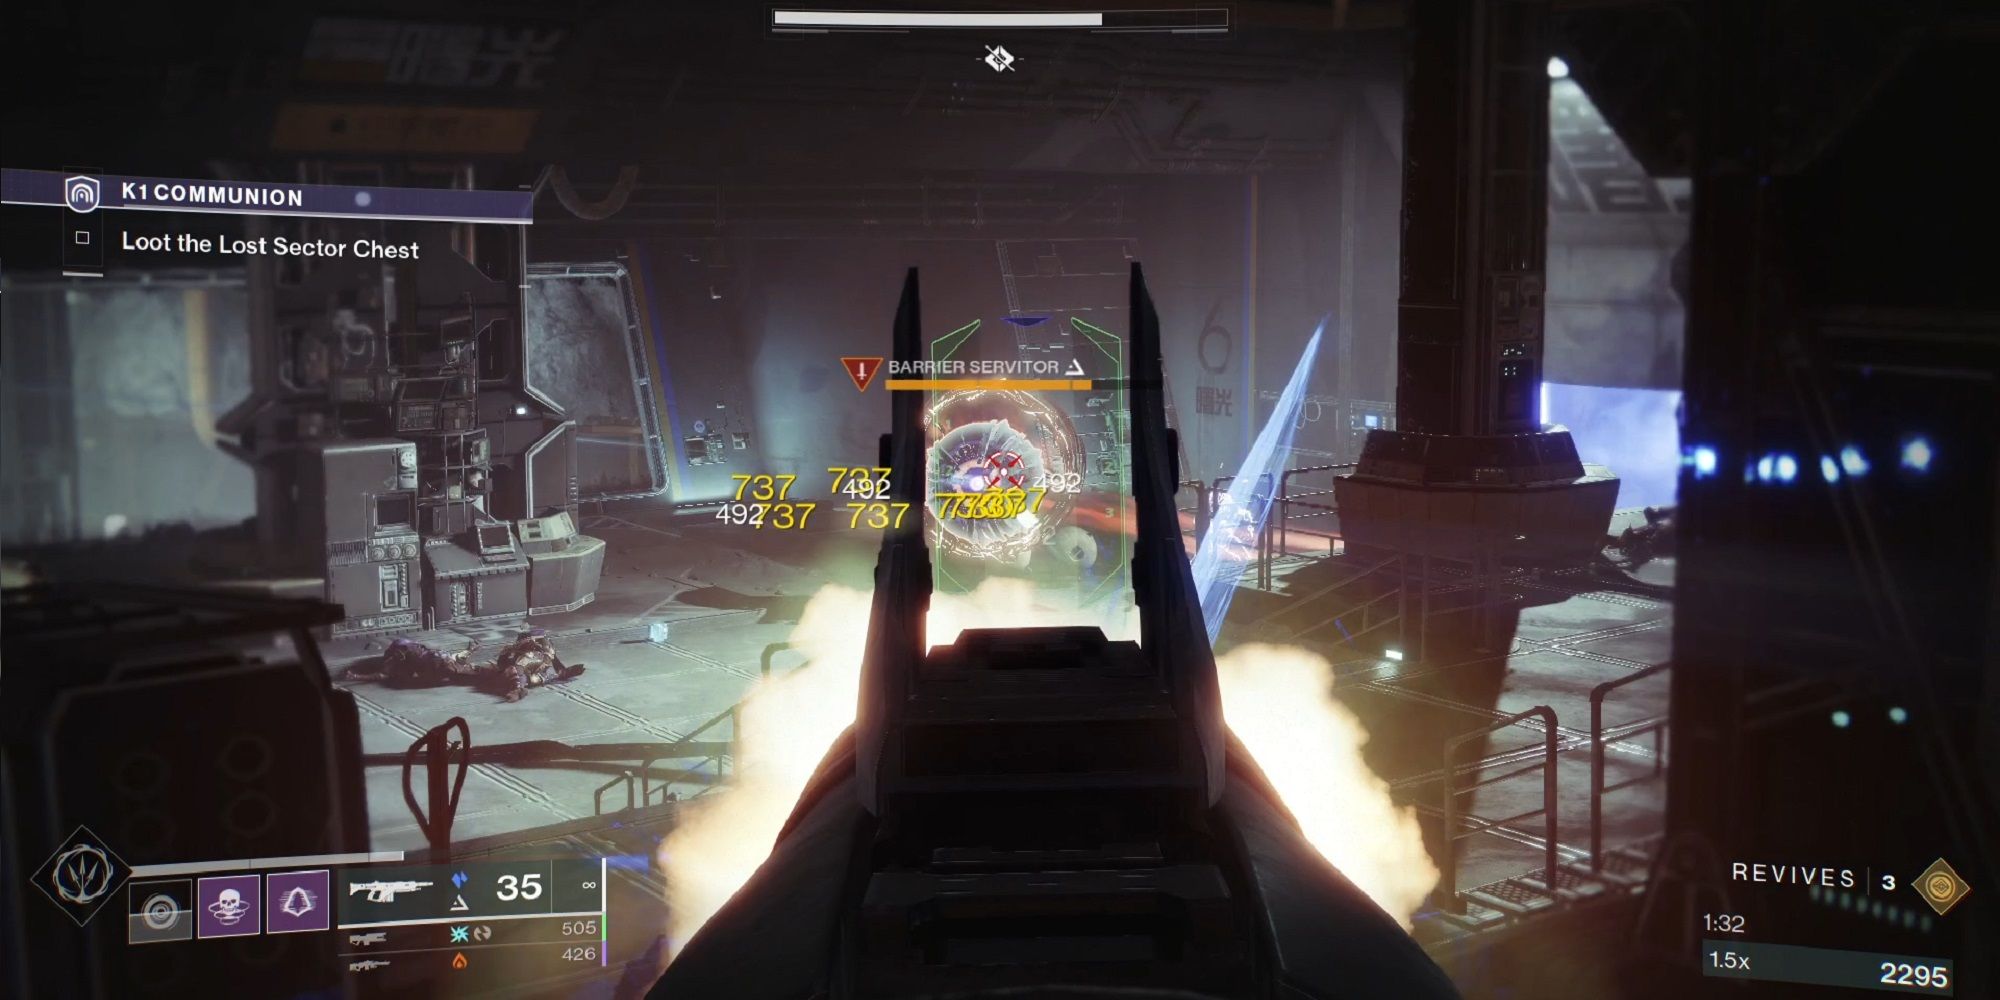
As soon as the Barrier Servitor spawns, your main job is to get rid of it as soon as possible, as the Servitor will protect the boss and all the surrounding enemies, making them immune to any kind of damage. So don’t be shy of using your Super on this final Barrier Servitor. Also, if the number of smaller enemies is annoying, you can focus your shot on them after stunning the Barrier Servitor as it will lose its protective shield until it gets back from the stunned state.
When the Barrier Servitor is down, you will have an easy job killing the boss and the remaining Nightmare enemies. The key to success is to be patient and take cover as soon as your health is below 50%. Keep in mind that a lot of grenades will be thrown at you during this encounter, which makes it a risky move to continue fighting with low health.
Keep in mind that after killing the boss, a plethora of Exploder Shanks will swarm inside the arena. If you are using the Void subclass, make sure to go invisible and head to your safe house as soon as possible to have a better line of sight of the shanks before they explode on you.
Stay connected with us on social media platform for instant update click here to join our Twitter, & Facebook
We are now on Telegram. Click here to join our channel (@TechiUpdate) and stay updated with the latest Technology headlines.
For all the latest gaming News Click Here
For the latest news and updates, follow us on Google News.


