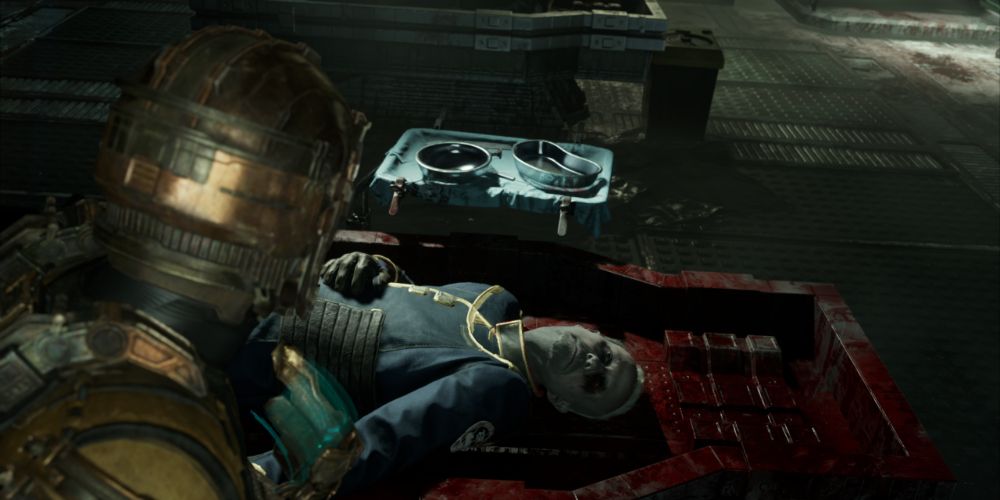
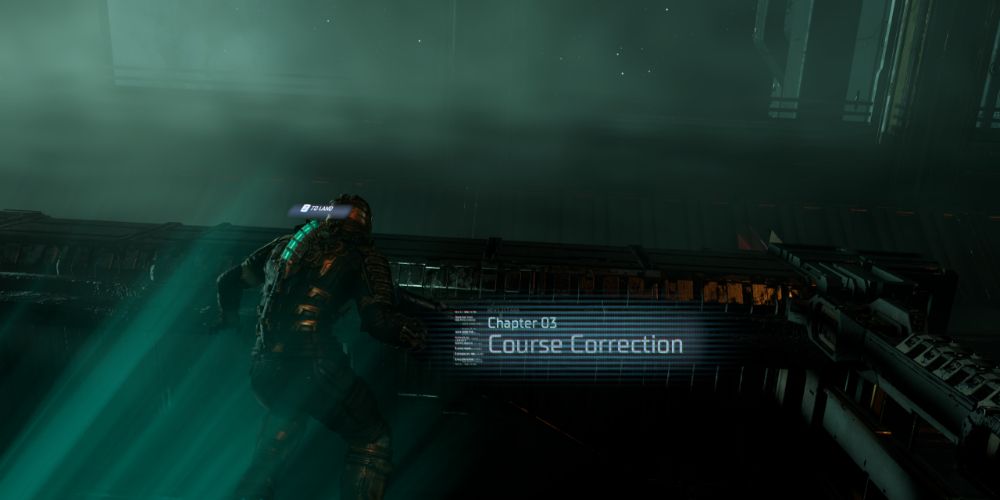
After blasting through the barricade early in Dead Space Remake, Isaac is given the morbid task of exploring the morgue to pull the Captain’s RIG off of the recently deceased Captain. This means carving a path through the Intensive Care Unit and de-limbing any Necromorphs along the way. This guide will tackle each step of the journey.
Assuming a barricade-free path, players will start by taking out the Necromorph ambling through the wreckage and proceeding forward into the new area, just west of the Security Station. Pick up both the valuable Weapon Upgrade on the bench and the Power Node locked away in a cabinet on the wall, then get started on Dead Space’s next nightmarish episode.
The Emergency Room
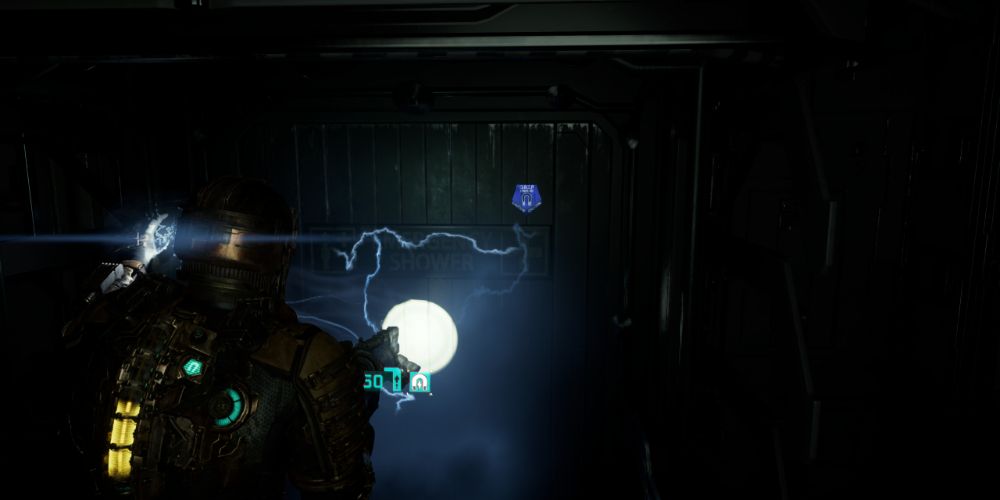
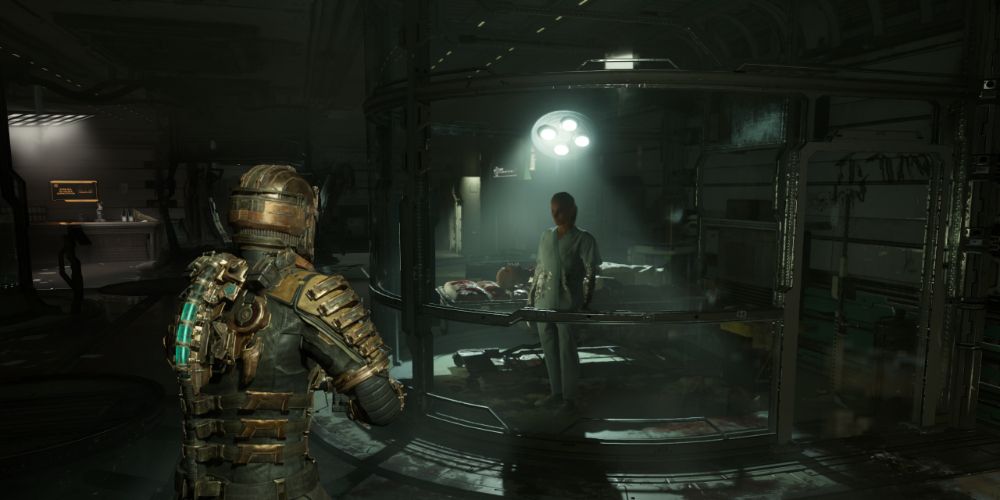
The next door opens up to the Emergency Room, which will trigger a hologram in the center of the room. Before proceeding, there is a secret room accessible via the Circuit Breaker on the far wall. Simply switch the power of to the showers and use Kinesis to open the shower door to find some loot, some lore, and a small update to a side quest (Scientific Methods).
Battery Switching
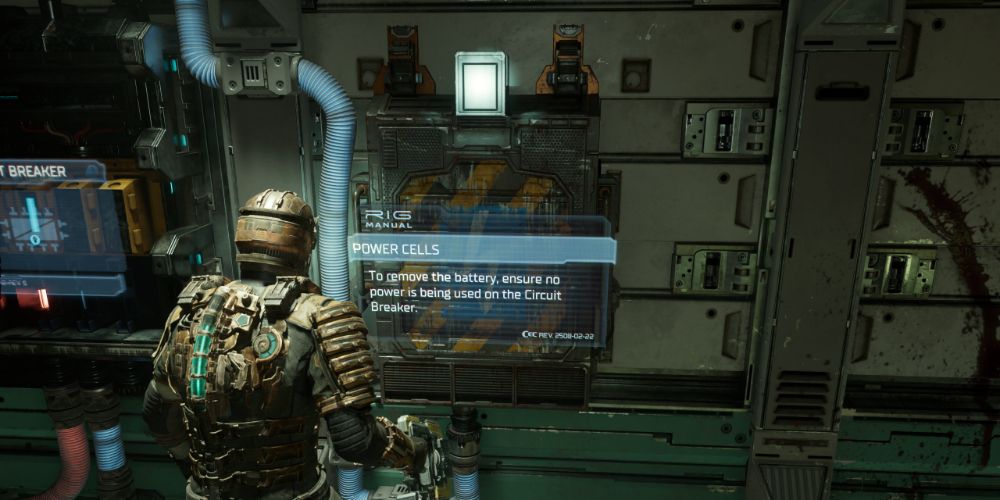
Once this is complete, Isaac will need the battery from this Circuit Breaker to activate the one on the other side of the room. Use Kinesis to pull out the battery, but immediately drop the battery and prepare for a Necromorph invasion! The Lurkers are the tricky part: don’t forget to use Stasis and aim for their tentacles when they appear. Assuming Isaac’s survival, pick up the battery and insert it into the other Circuit Breaker near the door on the other end of the room. Continue onwards until you find the door to the Intensive Care Unit.
Intensive Care Unit
Next to the door is a little mail icon that will deliver some extra story. Before heading through the door, explore the hallway to the west (to the right of the door). It’s a dead end, but has plenty of loot (including another crucial Power Node). Now head on into the Intensive Care Unit for a fittingly intense and unpleasant cutscene. Explore the room for loot, then find the exit on the west side of the room.
Power The Elevator
To proceed down to the Morgue, Isaac will need to power up the elevator. As per usual, this means combining Kinesis with a nearby battery. Once the elevator is ready, take it down and make sure all of Isaac’s weapons are reloaded and ready for a fight. Look around the main room for any additional loot before entering the Autopsy Room on the far end of the room.
Entering the Autopsy Room will immediately trigger an event, so be prepared before doing so.
Battling The Captain And Another Necromorph Attack
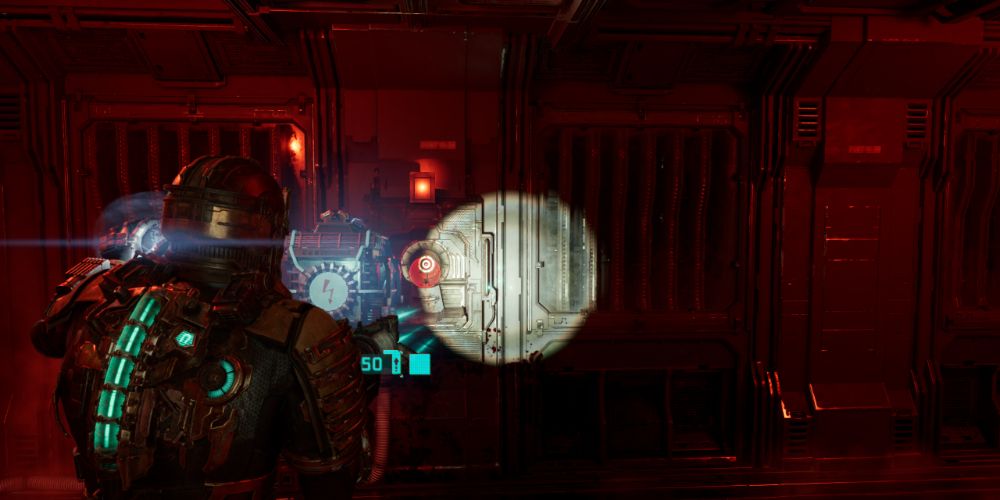
Unfortunately for both Isaac and the Captain, the Captain has transformed into what appears to be a Slasher-type enemy. There isn’t much room in here for a proper fight, so Stasis is a great tool to keep alive long enough to get some distance. Keep an eye on the Autopsy Room door, make sure the Captain is properly dead, and take out any enemies coming into the room.
The Captain’s RIG
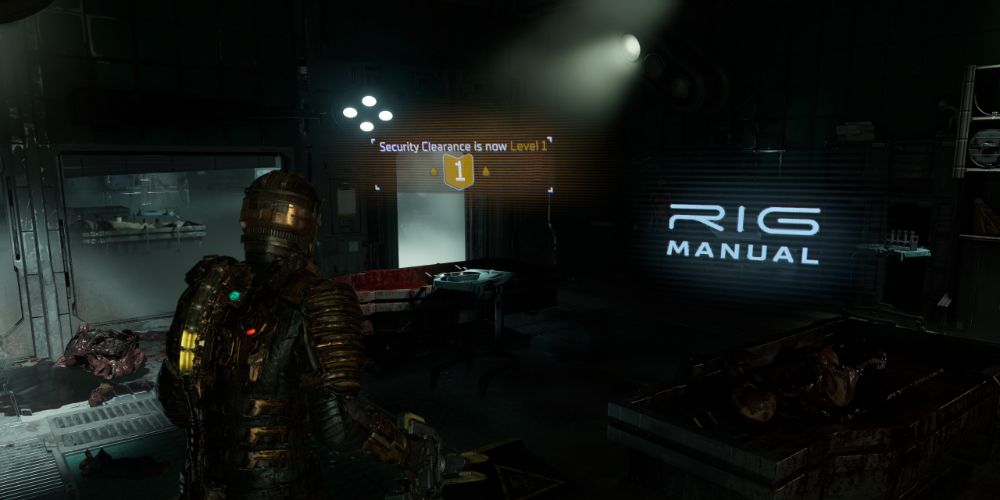
Finally, Security Clearance Level 1 is within Isaac’s grasp. Pick up the Captain’s RIG, which should be on the autopsy table, and start taking advantage of life on the Ishimura with Captain-level access. A shorter route back is now available by taking the elevator in the back of the Morgue up towards the Emergency Room and the Security Station. Head for the Security Station (hit R3 for the Locator), as Isaac’s new security clearance offers a small detour towards an extra Power Node in the Patient Locker Room.
A Small Detour
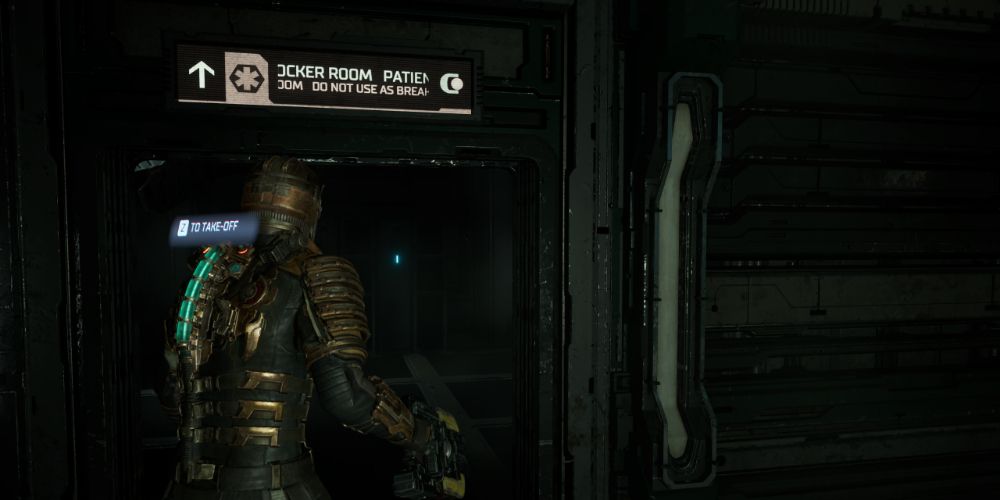
This is an optional detour, but well worth the time for the hefty reward of an extra Power Node. From the Security Station, backtrack towards where Isaac found the Hydrozine Tank (Imaging Diagnostics on the east side). Pass through the first room towards the Coolant Pipelines and follow that hallway all the way up to the Zero-G Therapy room from before. A room labeled Patient Locker Room will now be open to Isaac just past the elevator shaft (L1 + R1 to float up the elevator shaft with Isaac’s thrusters). Empty the lockers, grab the Power Node, and head on back to the Security Station.
Head For The Hangar Bay
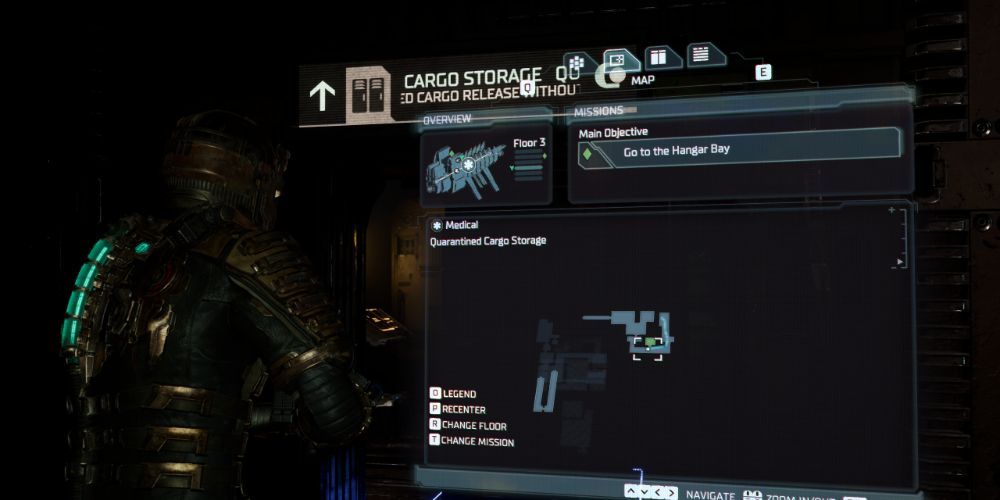
Chapter 2 is just about complete. Simply steer Isaac south from the Security Station where the Tram should be waiting. Isaac has two choices here. Ride the Tram back to the only other station available (Hangar – Cargo), or walk back to the Flight Lounge on foot and pick up some extra loot from a now-accessible secret room. It’s just ammo and med packs, so feel free to skip this one. For the incorrigible completionist, simply backtrack towards the Flight Lounge from Chapter 1. In the first main hallway on the way back, there is a door marked Quarantined Cargo Storage. Move some crates, clear out any lingering Necromorphs, and loot away!
Hangar Bay
Whether Isaac takes the tram or gets some steps in, the player will find their way back to the original tram station. Take the elevator down to the Flight Lounge and head through the main door to the Hangar Bay. Be prepared to engage those thrusters and blast into Chapter 3 with Zero G.
Stay connected with us on social media platform for instant update click here to join our Twitter, & Facebook
We are now on Telegram. Click here to join our channel (@TechiUpdate) and stay updated with the latest Technology headlines.
For all the latest gaming News Click Here
For the latest news and updates, follow us on Google News.

