Many of the chips inside a typical PC generate a lot of heat and require some form of active cooling to remain stable. Powerful recent hardware like Nvidia’s GeForce RTX 3000-series graphics cards and AMD’s Ryzen 5000 processors demand even more heat dissipation.
System builders usually rely on heatsinks and fans to manage the heat within a PC. If you’re upgrading or building a new PC—or your PC is overheating—you may need to install new or additional fans.
Here’s how to identify when you need to replace a fan and how to do it yourself.
Identifying faulty fans
Often, a fan will start to emit strange grinding noises or vibrations in its last death throws. Sometimes there is no warning at all, and a fan will silently come to a stop.
Open up the computer’s case, turn it on, and look around with a flashlight (but try not to touch anything while the computer is on).
 Thiago Trevisan/IDG
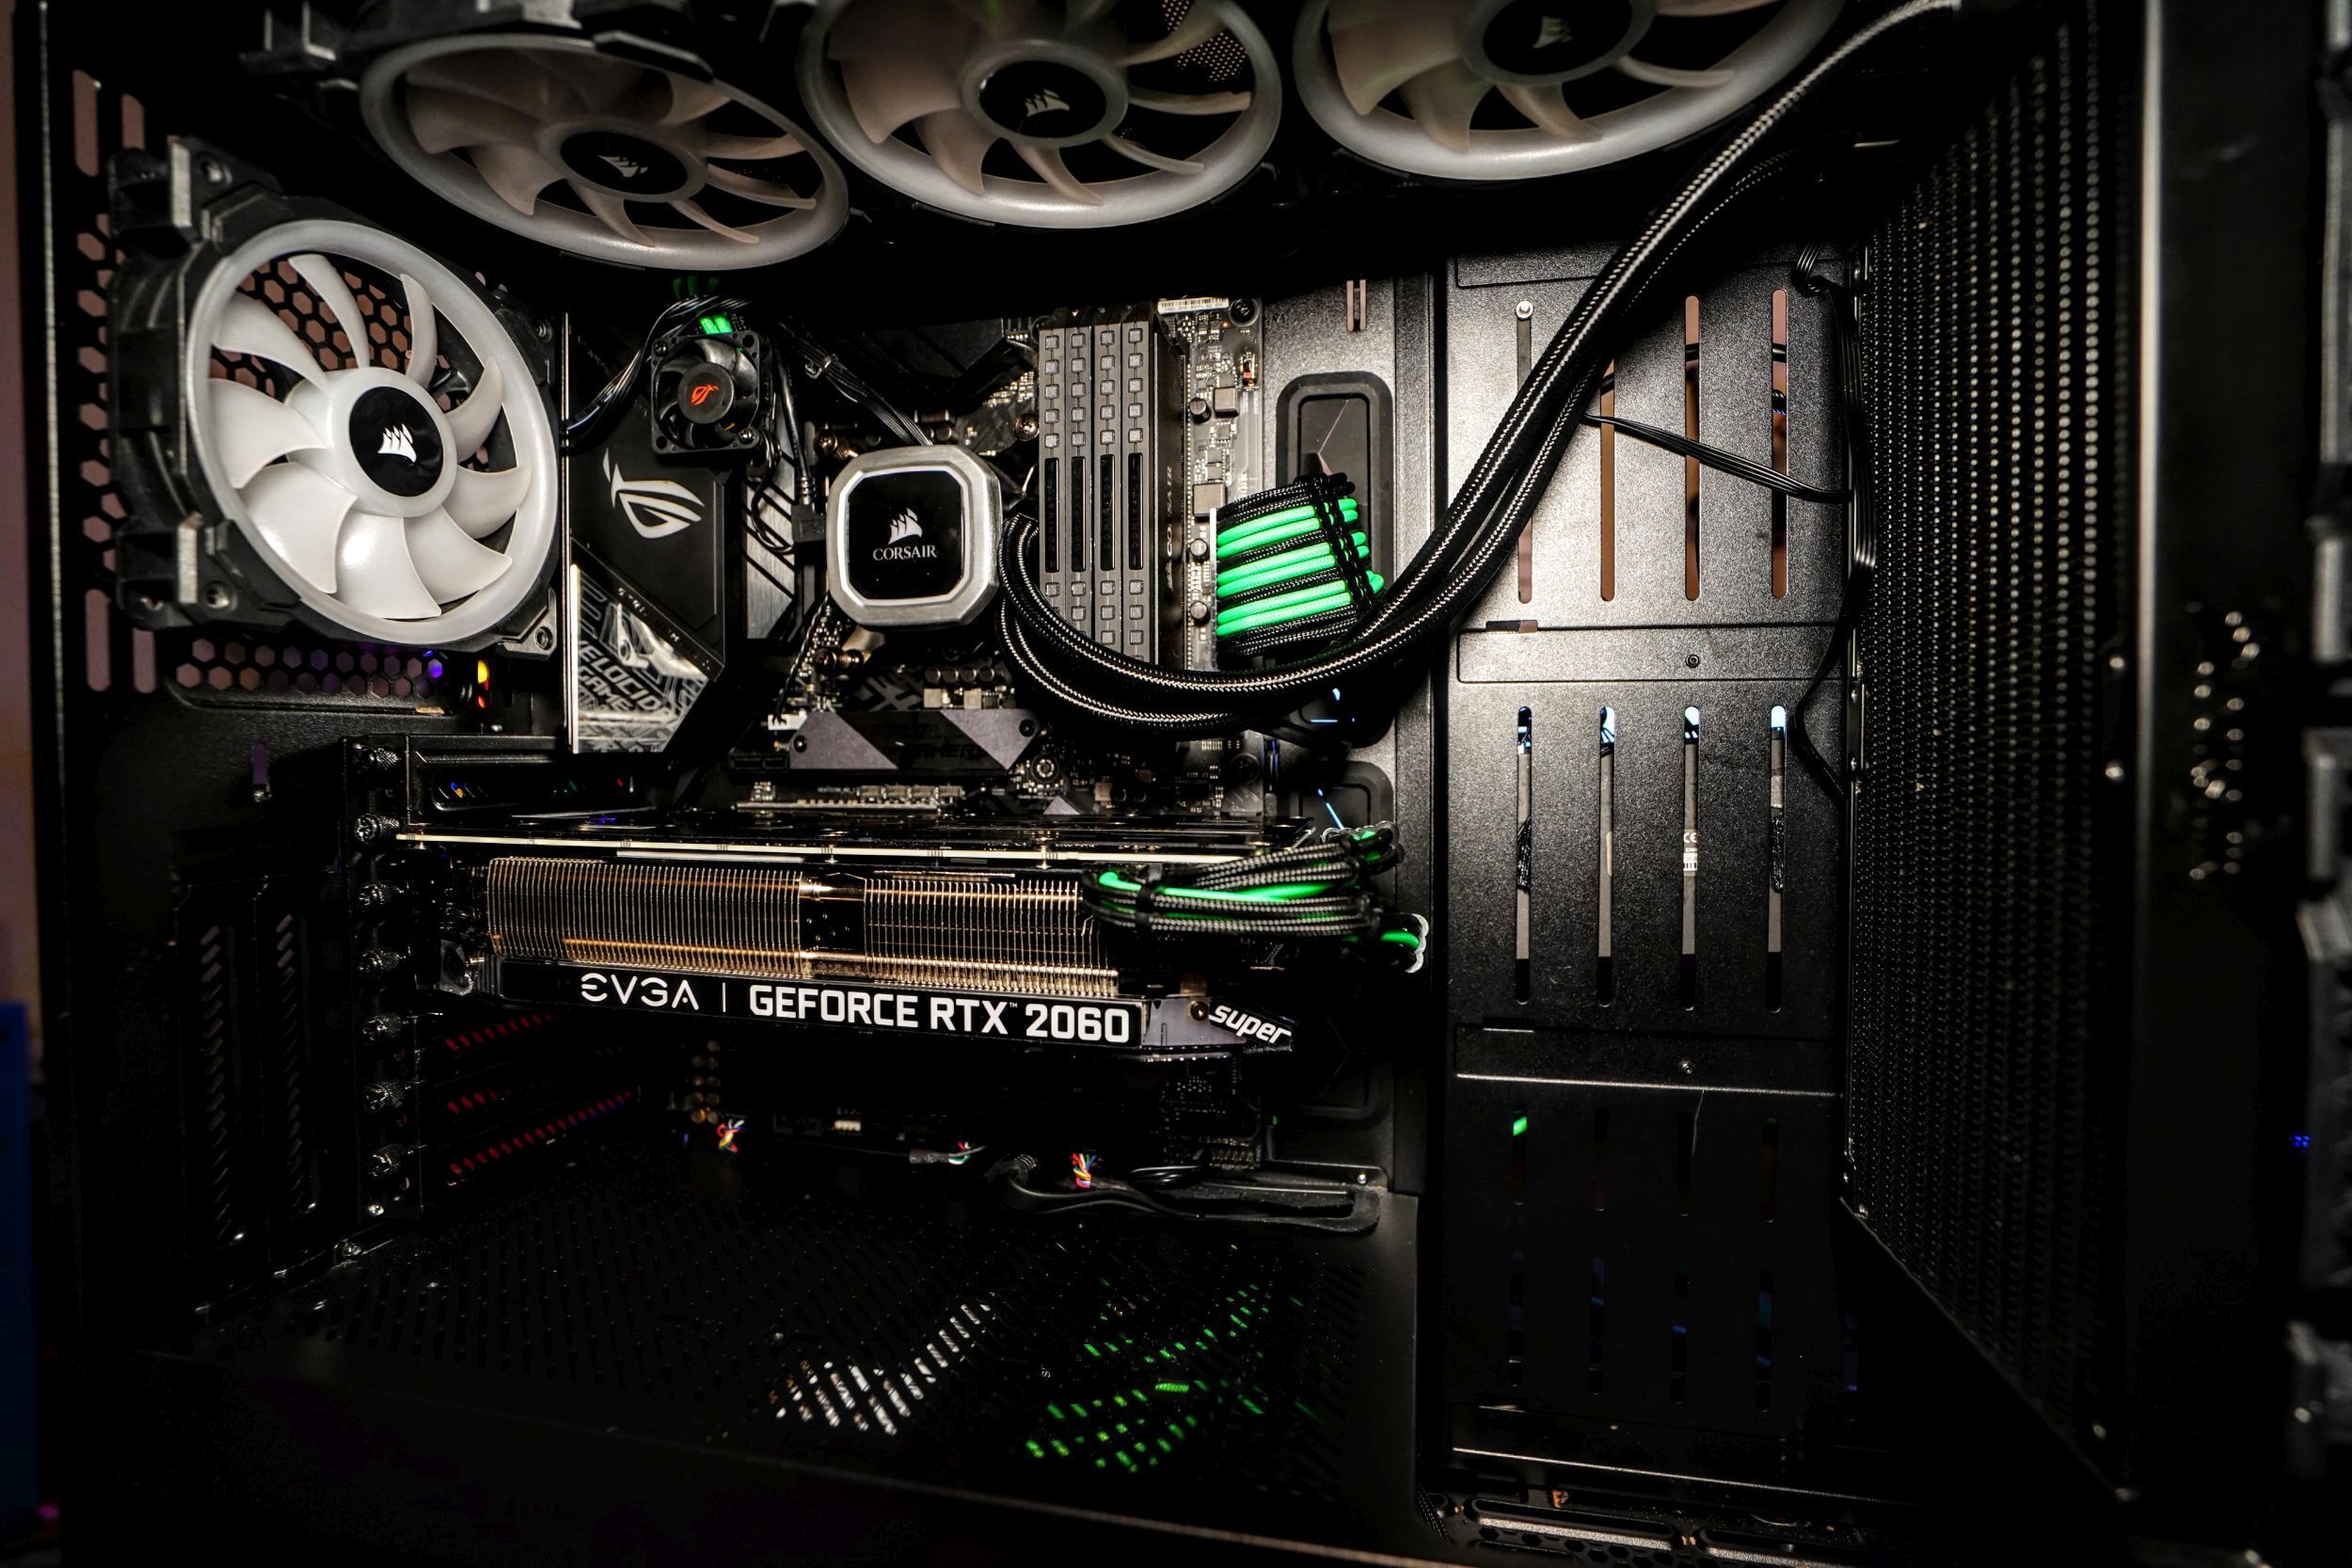
This exhaust fan is mounted to the back of the case to vent warm air. Exhaust fans can also be mounted to the top of the case, while intake fans are usually mounted on the front or sides.
In all but the lowest-power, passively cooled systems, you’ll likely find at least four fans: an intake fan, an exhaust fan, a CPU cooling fan, and a power supply unit (PSU) cooling fan.
The CPU and PSU will be mounted on their respective components, but case fans can be situated almost anywhere. It’s common to find intake fans toward the bottom of a system, usually at the front, where they can pull in the coolest air. Exhaust fans for expelling warm air are commonly found at the back or top of a case.
If one of the fans has stopped, check to make sure it’s connected. If the fan is connected and still isn’t spinning, it will need to be replaced.
What you need to know before installing a fan
The majority of cases and PCs sold today will have unused fan locations available. Even if all your fans are working, there’s a good chance you’ll have room for at least one more.
 Thiago Trevisan/IDG
If all your system’s fans are functioning, yet the system runs hot or unstable, you may want to add more fans. If your case can’t take any more fans, or is getting too loud, consider liquid cooling. Our guides to setting up your PC’s fans for maximum system cooling and how to tell which direction a PC fan blows can also help with the process.
If you need to replace a fan, make sure you find a replacement with the correct size, and connector.
Choosing the right fan
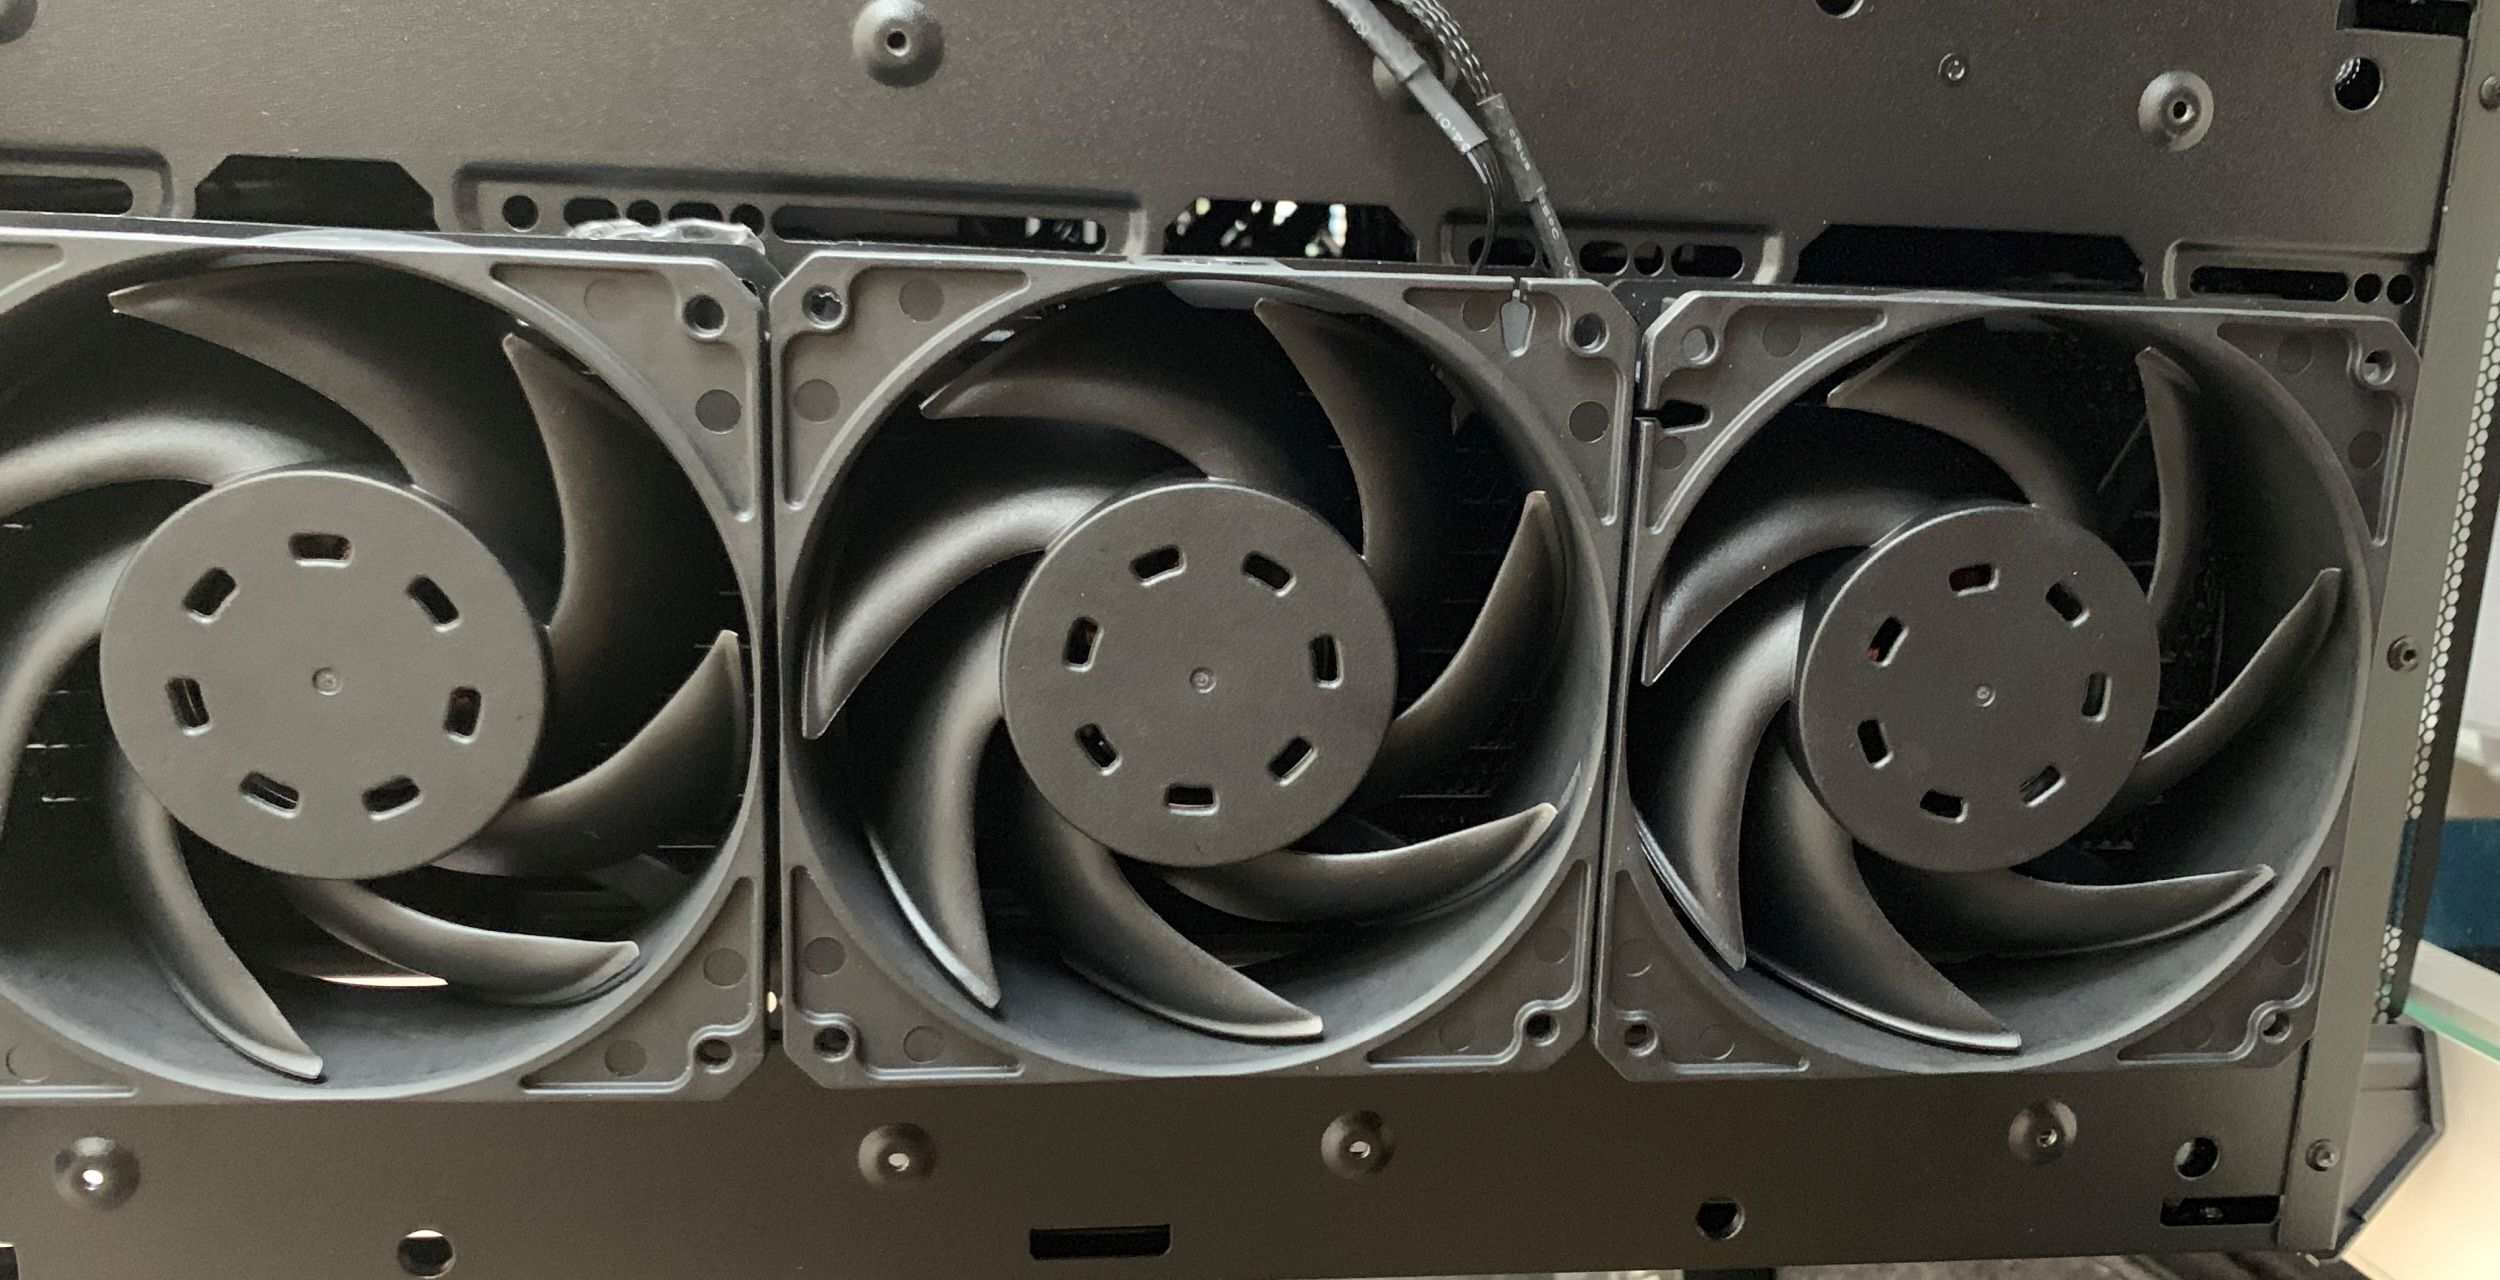
Cooling fans are available in a wide range of sizes and shapes (and colors), from tiny barrel-type fans sometimes used to cool chips, to large axial fans used in most power supplies.
The most common fan sizes fall in the 70mm to 140mm range, but fans as large as 230mm are becoming more popular. Fans with a diameter of 120mm are typical in newer cases.
Look for one with a high air flow (measured in cubic feet per minute, or CFM) and low noise level (measured in decibels, or dBA). This information will be on the package or on the product’s information page.
 Thiago Trevisan/IDG
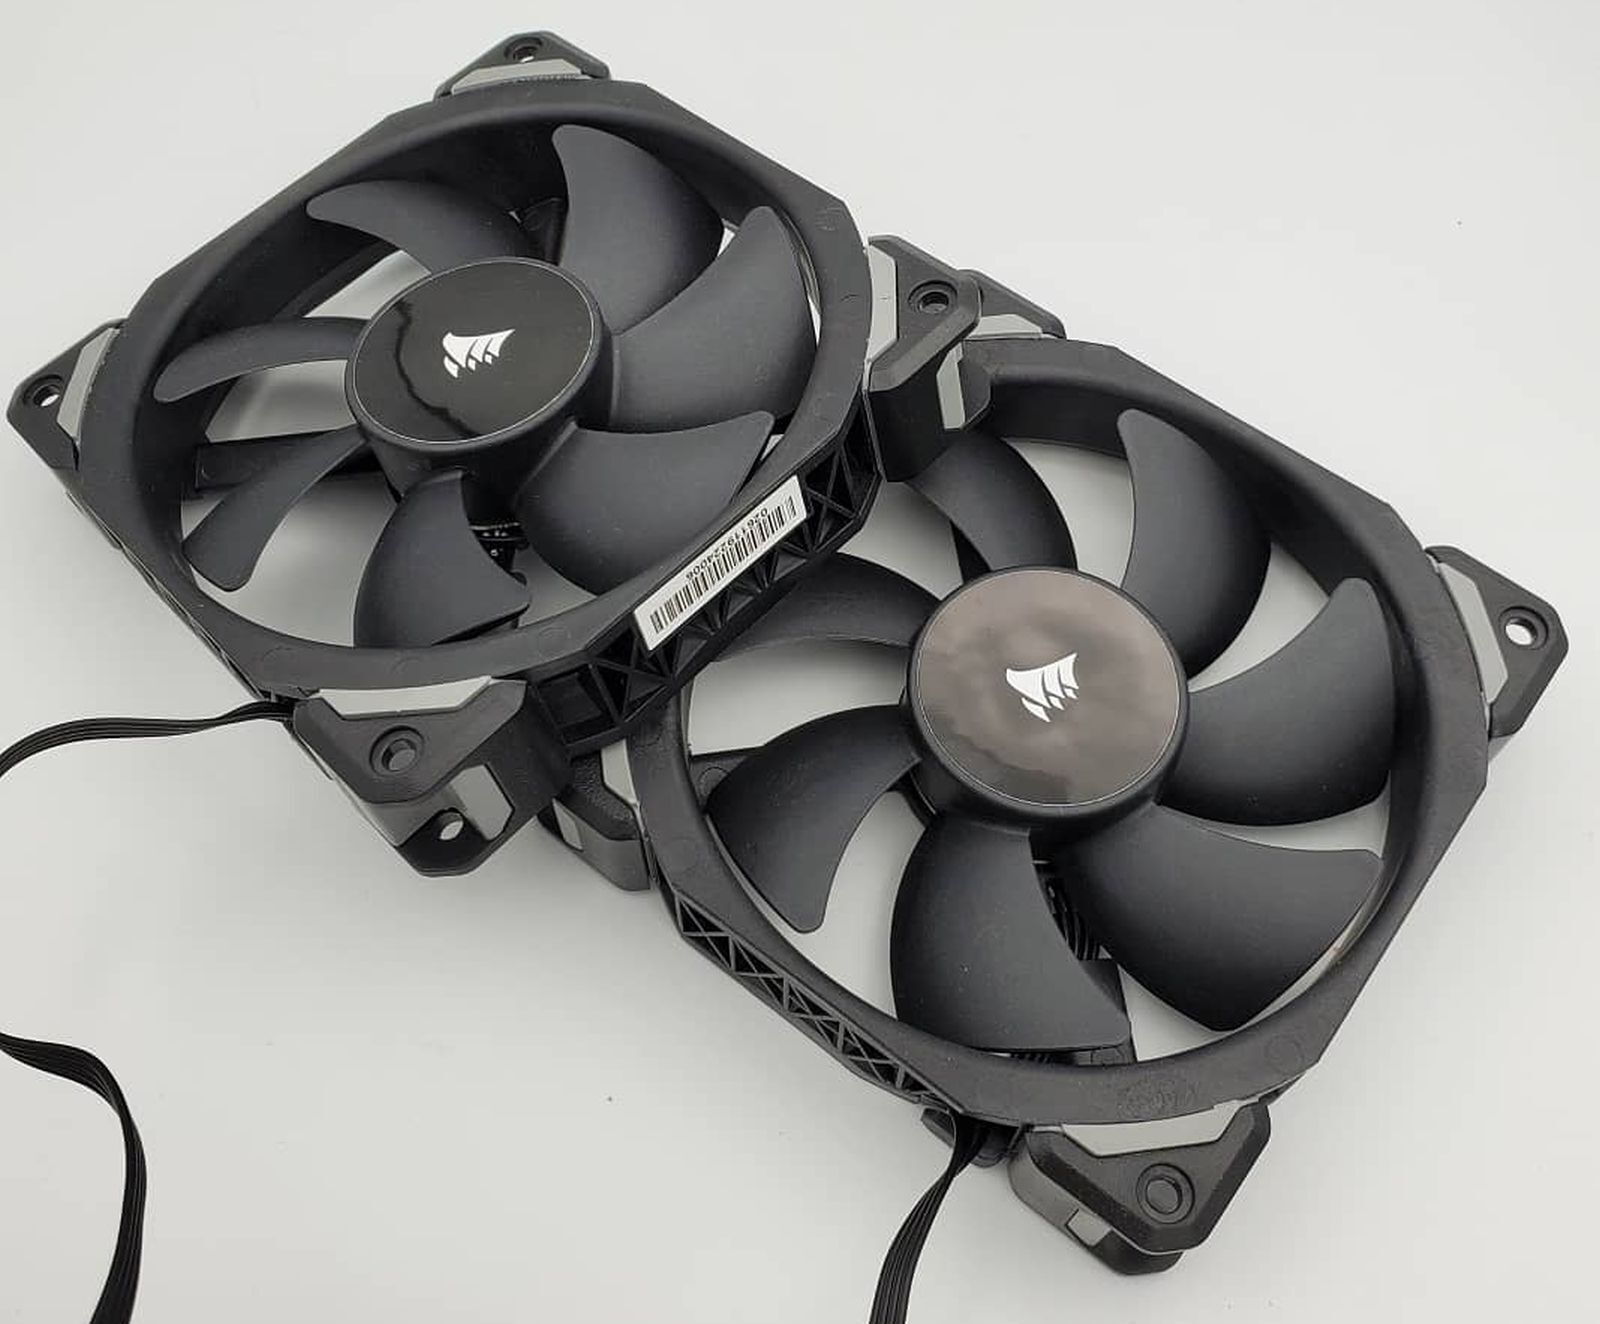
Fans vary in size, speed, blade shape and color. Some fans even come with built-in LED lights, others are more performance focused such as this Noctua Chromax fan.
Larger fans can usually spin at lower speeds and still move plenty of air without making much noise. Some manufacturers incorporate LED lighting into their fans as well.
Maintain positive pressure
When adding fans to a system, maintaining positive pressure within the case can prevent dust from being sucked into any open holes or crevices. To maintain positive pressure, you need to have a higher combined CFM for the intake fans than the exhaust fans.
Note: Most fans have small arrows embossed on their frames that show the direction of air flow. When mounting, point the arrow towards the inside of the computer for intake, and the arrow towards the outside for exhaust.
Power connections
Most cooling fans will connect to a PC with a standard connector of some sort. Modern systems will typically use 3-pin or 4-pin dedicated fan headers, though standard MOLEX 4-pin peripheral connectors are also used.
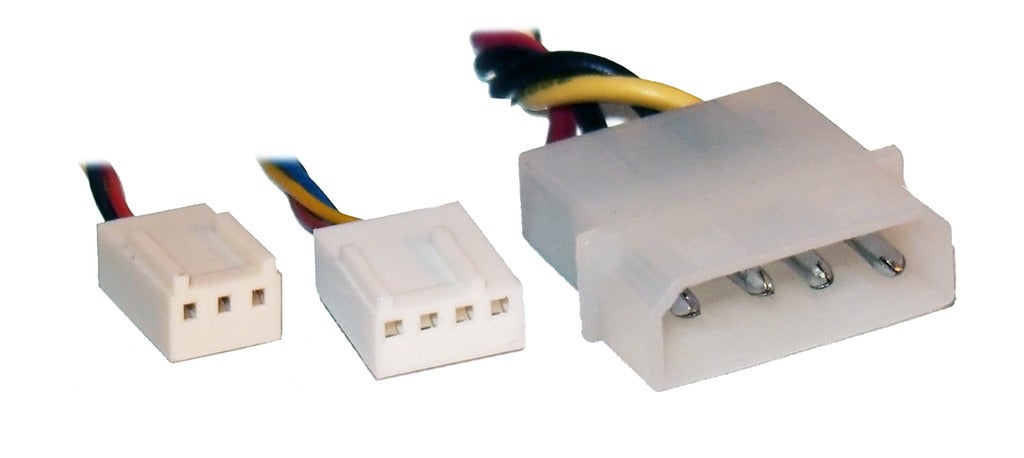
From left to right: A 3-pin connector, a 4-pin connector and a MOLEX connector. Make sure to check what type of fan connector you need before buying your fan.
The analog 3-pin and MOLEX connectors provide power to the fan to make it spin. Four-pin connectors are digitally controlled and let the system to alter fan speeds dynamically.
Many motherboards (and dedicated fan controllers) will feature an array of 3-pin and/or 4-pin fan headers that are placed at different locations around the board.
Installing a new fan
Note: Before you install any component in your PC, make sure the PC is powered off.
To remove a faulty fan or install a new one, you’ll need a Phillips head screwdriver.
If you’re replacing a fan, remove the old one by unscrewing it from the case and unplugging the cable from the header (or MOLEX connection). You can reuse the screws if your new fan doesn’t come with any.
To mount a fan, hold it up to the mounting position so that the holes for screws line up with the holes in the case. While holding the fan in place with one hand, use four screws to secure it in place with the other hand.
 Thiago Trevisan/IDG
To install a case fan, hold the fan in place with one hand. With the other hand, tighten secure the fan in place with four screws
If you just have plastic friction clips holding a fan in place, simply un-snap the clips, remove the fan, and pop the new one in its place.
Next, attach the fan to an unused fan header. The headers are keyed to ensure a proper connection. Four-pin headers will work with 3-pin fans, but you won’t have control over fan speeds.
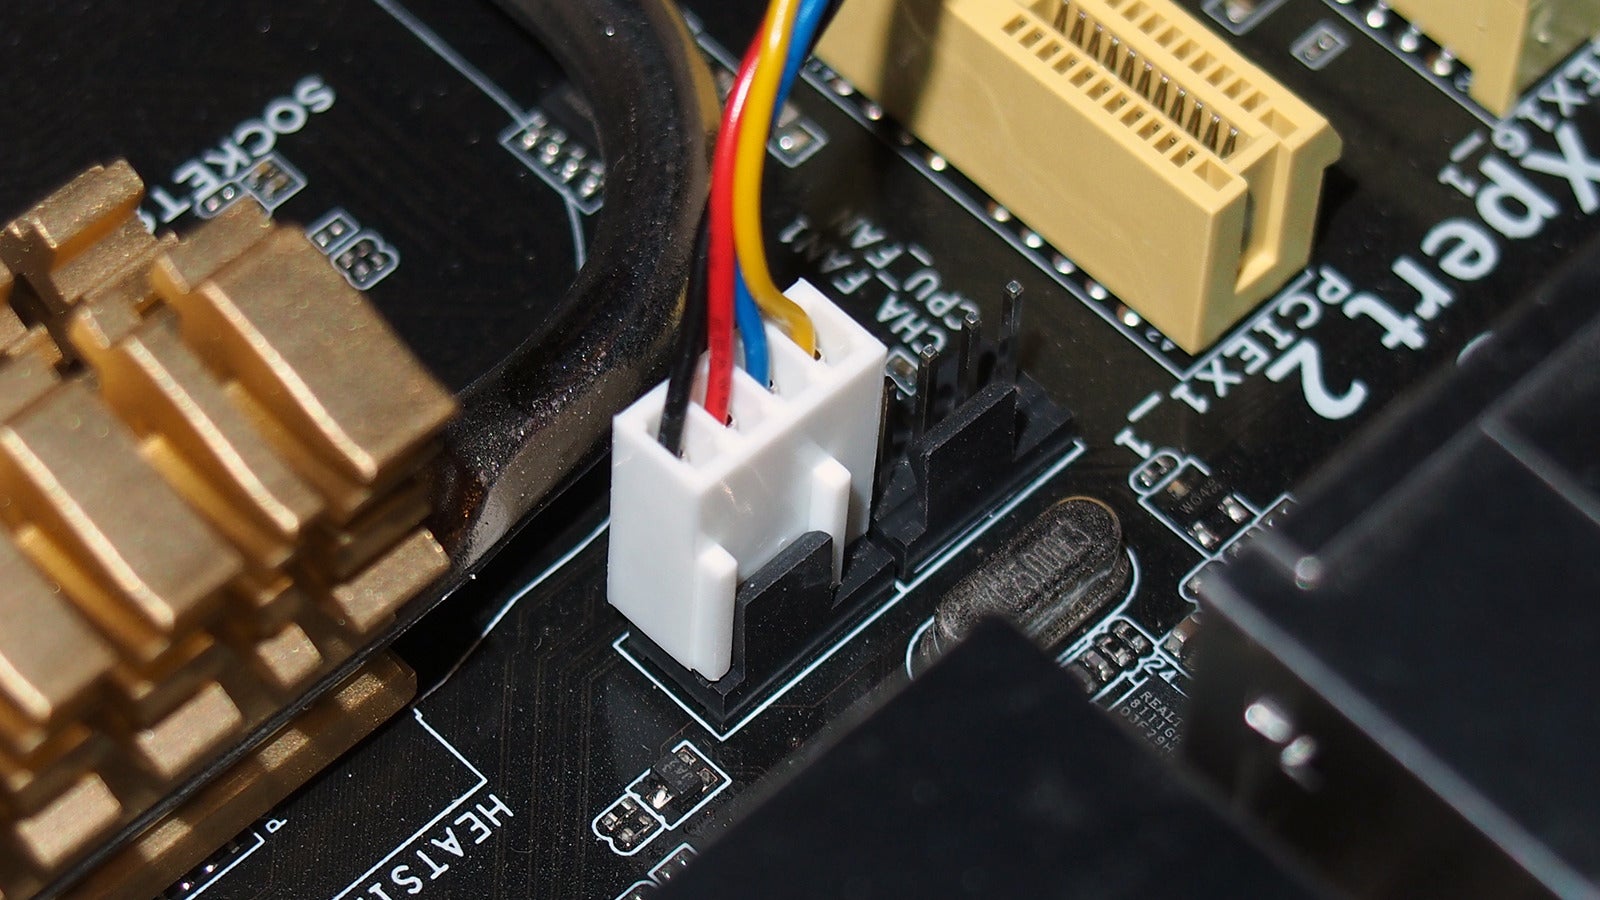 Marco Chiappetta
Four-pin fan connections allow your computer to change the fan’s speed on-the-fly. Usually, a system will lower speed to reduce noise and increase speed when more cooling is needed.
Buying a fan controller will give you additional fan headers. Alternatively, you can use 3-pin/4-pin to MOLEX adapters and connect the fans right to the PSU. (MOLEX connectors are keyed as well.)
 Thiago Trevisan/IDG
MOLEX fan connectors are older and don’t offer any controls for the fan, but they’re easy to connect.
One final note: Route your fan (and other) cables using appropriate cable management or some zip-ties. This will ensure that cables don’t hit the fan as it spins, causing a buzzing sound. Cables that come in contact with fans can also stop the fan completely, or worse, damage the cable.
Note: When you purchase something after clicking links in our articles, we may earn a small commission. Read our affiliate link policy for more details.
Stay connected with us on social media platform for instant update click here to join our Twitter, & Facebook
We are now on Telegram. Click here to join our channel (@TechiUpdate) and stay updated with the latest Technology headlines.
For all the latest Technology News Click Here
For the latest news and updates, follow us on Google News.
Denial of responsibility! NewsAzi is an automatic aggregator around the global media. All the content are available free on Internet. We have just arranged it in one platform for educational purpose only. In each content, the hyperlink to the primary source is specified. All trademarks belong to their rightful owners, all materials to their authors. If you are the owner of the content and do not want us to publish your materials on our website, please contact us by email – [email protected]. The content will be deleted within 24 hours.